Posts Tagged ‘saturn’

This started out as a hunt for an air leak. For a couple of years I’d noticed there was a nasty draft coming from my Saturn Ion’s glove comartment. Tolerable in the summer, but pretty chilly for passengers during the winter months.

The day arrived when I was ready to disassemble the dashboard and hunt down the problem. “An air supply hose must’ve slipped off ” I thought. With several hours set aside for the project, I gathered up my tools, scrunched under the dash and began to start removing parts. I opened the glove compartment and started to remove the door. It was then that I noticed an small, slim plastic door at the very back of the glove compartment. It was hanging open. The source of the cold air!

As it turned out this is the door for the cabin air filter, a smaller version of the air filter you’re used to replacing on your home furnace. I think the previous owner of my car must’ve pulled it out, gone hunting for a replacement and then given up. It would’ve been nice if he’d closed the air filter door first!

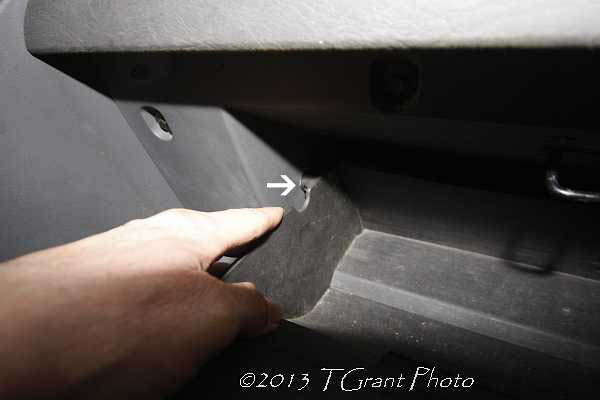
Replacement of the air filter is an easy task, requiring no tools. To replace the filter carefully pop the left guide from the outer glove compartment door.

1
 

2
 

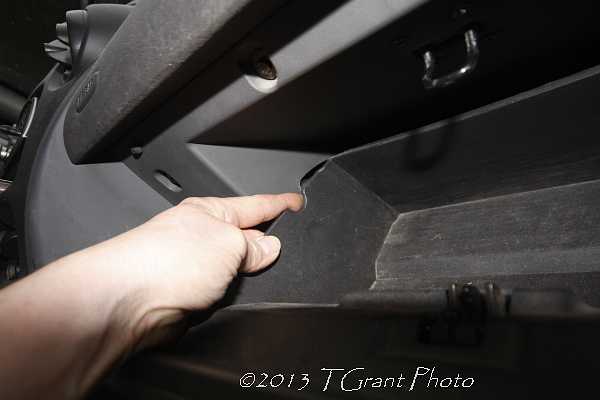
Then pop out the right guide (a little harder, but it’ll come out if you’re careful).

3


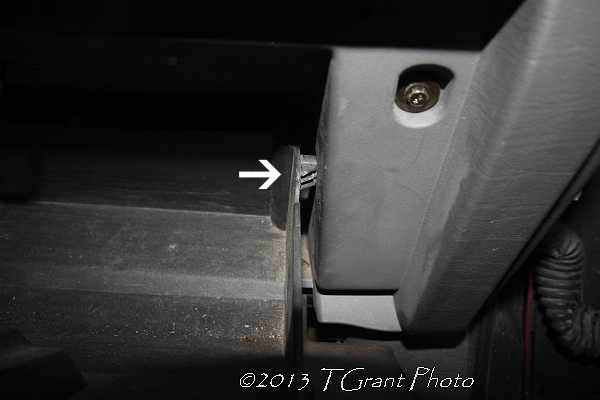
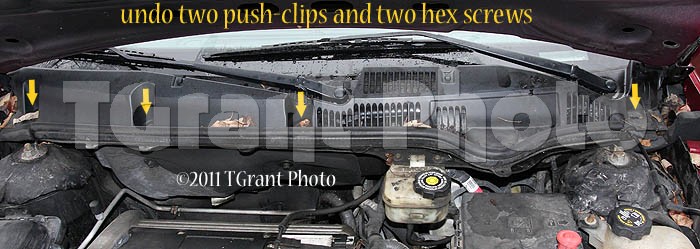
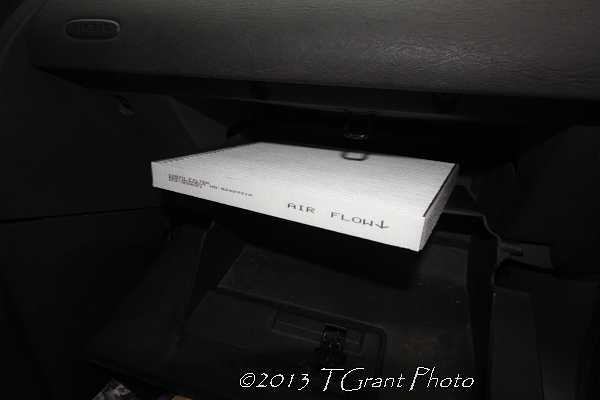
After the glove compartment door is loose, swing it all the way down. You’ll see the slim (approx. 2″ x 10″) cover to the air filter. If it hasn’t been tinkered with, you’ll see two plastic pull-clips on either end (in our case the clips were gone so we replaced them with small sheet metal scews).

4


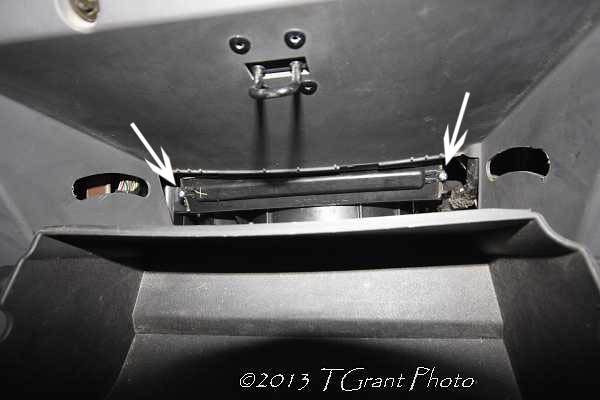
Slide the old filter out. Installing the new filter is a bit trickier than changing your home furnace filter. The filter tends to hang-up every so often. It goes in at a slight angle, so work it back and forth and it’ll eventually slide into place.

5


Then close up the filter door and secure it with the original push-clips or with two sheet metal screws.

6

Now you’ll be breathing cleaner air, and in my case, no more drafts!

 
If this article helped you, please consider giving a “like” to TGrant Photo on Facebook! Thanks!


Saturn Ion wiper mechanisms are prone to failure when the plastic casting in the wiper mechanism cracks. Signs of failure are apparent when your wiper blade suddenly becomes “floppy” and overshooting the window when it wipes. If you grasp the wiper blade down by it’s base (where it goes into the car) it should have very little play, if it wobbles around, chances are that the plastic mechanism has broken and you need to replace the mechanism.

For about $90 you can order a new replacement part that’s all metal from www.autopartsdirecttoyou.com Their website also has a very good installation article  http://www.autopartsdirecttoyou.info/?p=55

Disclaimer: Repair tips in this article are designed for informational purposes only, without warranty of any kind, in no event shall the author of this site be liable for any consequential, incidental or direct damages sustained in the course of using the information in this article.

Start by removing the black plugs covering the nuts at the base of each wiper arm. Next, you have to remove the wiper arm nuts. Getting the wiper arms off is the most difficult and frustrating part. After you remove the nut, you’ll find that the wiper blade arm is pressed onto the tapered splines of the wiper mechanism. You’ll probably have to use a mini-hub puller to free up the blade arm. Before you do this, put the nut back on the wiper arm shaft loosely,  this will protect the threads from the hub puller. Be very careful, too much pressure from the hub puller could crack the wiper blade arm! Slowly adjust the hub puller, applying tension. Gently tap the top of the hub puller and at some point the wiper blade arm should pop loose! Using some Liquid Wrench will also help.

After the wiper arms are removed, keep them separated (the passenger side has the shorter wiper blade). Next, remove the plastic cowl covering the wiper mechanism.  There’s two push-pin fasteners (one on each outer end of the cowl) and two small hex screws (see photo). After these are off, disconnect the wiper washer hose and prop the cowl back so you can work on the mechanism.

Now you can reach in to remove the three large bolts holding the wiper mechanism, then slide it out so you can do the replacement.  If you’re careful, you can do all of this without unplugging the wiper motor (it’s very hard to unplug). It’s important at this point, that you carefully duplicate the position of the replacement arm mechanism with that of the one you’re removing. The position of the short bar that is bolted to the wiper motor is very important. If you don’t match it closely the mechanism won’t function correctly.

After the new mechanism is back together, replace the two wiper blade arms. Don’t tighten the wiper arm nuts fully, just enough to hold the arm to the mechanism for a test (you may have to remove and reposition them if they’re just not right). Run a test and after you’ve confirmed that the blades are in the correct position, tighten down the wiper arm nuts and replace the cover plugs.

This should be a good long term fix for this Saturn wiper problem since the replacement mechanism is all metal!

Disclaimer: Repair tips in this article are designed for informational purposes only, without warranty of any kind, in no event shall the author of this site be liable for any consequential, incidental or direct damages sustained in the course of using the information in this article.