16
Oct
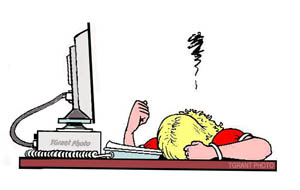
The older we get the more important our memories become — the tangible ones like photos and pictures of our loved ones, our happy times, life’s markers like weddings, parties and holidays. In the Digital Age we need to take extra steps to make sure those files are properly protected.
Back everything up. This goes without saying. However you need to back up the same files in several places to be really safe.
DVD’s and CD roms fail after time. I have some CD’s burned in 1998 that are losing their silver layer. It’s flaking off like old paint!
Once a year one of our studio hard drives “dies”. Usually it’s the motor bearing freezing up and the data is lost.
RAID systems have the benefit of redundant hard drives (data is written to two drives at once). Yet they’re still prone to failure if a virus enters your system.
So the point here is to back up in several ways:
- make one, or better yet two, DVD disc data copies. Don’t skimp, use a good brand of media (we recommend JVC Taiyo Yuden DVD’s)
- use an external USB Hard drive dock and back up to an external (removable) hard drive.
- keep a backup copy on your extra laptop.
- try to store a backup in an off-site location (such as a bank lock box or at a friend’s house)
All this extra effort will preserve those images for a lifetime (and longer)!
Tags: backup, burn, computer, Digital Age, disc, dock, drive, dvd, hard drive. RAID, redundant, Taiyo Yuden
Filed under: Computer Tips & Tricks, Photography, Tips & Tricks
28
Dec
If you’ve ever had a disc get stuck in the Olevia BDP-110 Blu-ray player, you know how frustrating this can be! The player locks up and can only be re-started by unplugging and then plugging in the A.C. cord. Even then the player boots up and locks again without ejecting your disc. Here’s how to manually eject the disc.
Warning: This article is for informative purposes only! We take no responsibility for any damage that you may cause or incur if you try this yourself.
First, and most importantly, make sure the A.C. line cord is unplugged! Remove the eight (8) small phillips bolts that hold on the top cover of the player. Tip the cover up at a 45 degree angle and remove it. ( The yellow screwdriver in the photo is pointing to the eject hole)
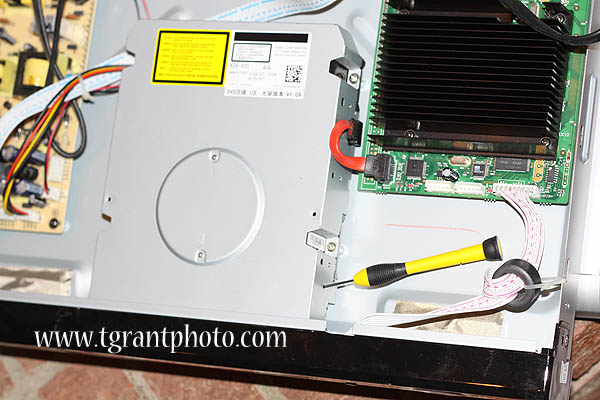
We found that it was easier to reach the eject hole by tipping the player assembly out. There’s 4 small brass bolts and a red SATA-type cable holding the blu-ray player unit in place.
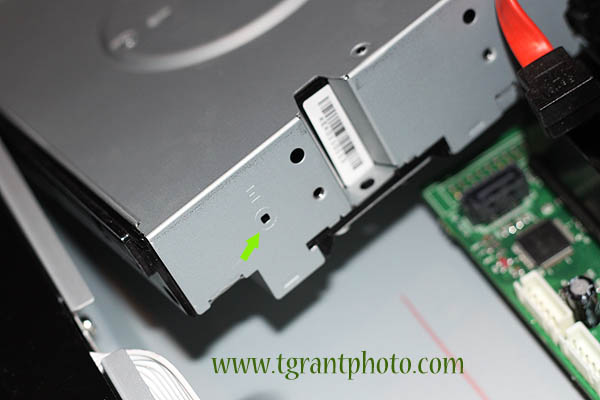
Here we plainly see the eject hole, faintly marked “E”. Straighten out a paperclip to about a 3″ length and insert it in the hole. As you push it in you’ll feel a small wheel inside the player turning the eject mechanism. You may have to do this several times. As you push the paper clip in, you’ll slowly see the eject door opening. Eventually you’ll be able to pull the tray out and retrieve your missing disc!
Warning: This article is for informative purposes only! We take no responsibility for any damage that you may cause or incur if you try this yourself.
Tags: BDP-110, blu, blu-ray, disc, eject, lock, manually, olevia, player, remove, stuck
Filed under: Video Equipment, Video Tips & Tricks